Blog 10 - Git pt.2
GIT Basics
Last week we were introduced to GIT, and learned about its history, design and implementations. We touched upon is advantages and disadvantages as noted by users in the professional industry. Today, we will be exploring GIT more to learn about how it works and touch upon its basic features that all users have grown to appreciate due to its collaborative capabilities. As we mentioned last time, GIT is a free and open-source version control system that is distributed unlike older centralized versional control systems. For this reason, every developer can have access to their full history of their local code repository. This makes its many features dramatically faster and more efficient, without complicating the task for its users. To learn more of GIT Basics in this blog, we will review its vast features in detail, and touch upon proper team etiquette when utilizing the version control system.

GIT: The Overview (First Steps)
There are many features in GIT which allow users to collaborate amongst other developers in projects, and the very first step in doing so is downloading a copy of the project itself. In GIT, we refer to project copies as remote repositories. In order to download a copy of the project, we use a command known as git clone. In order to use this command, we reference the link to the repository which can be found on github, and we copy the url using the command. After accessing the location on your local computer where you want the project copied, clone the project with the command git clone [link-to-repository]. The repository will then we cloned to the desired location, and can be checked for contents using the ls command.
Once inside the repository, you will be operating on a location within git known as a branch. If you have just clone da project you will be in the master branch, commonly referred to as main. You will most often be advised to never work directly in the master branch because of potentially breaking the code when "pushing" an error. For this reason, we use git branch to check our location within the repository and work accordingly.
In order to create a new branch or select an existing branch to work on, we use the git checkout command. If you already know the name of the branch using git branch, you can just type the command git checkout [desired branch] to switch to it. If you want to create a new branch, you can use the git checkout -b [desired branch name] command.
The Overview (Push & Pull)
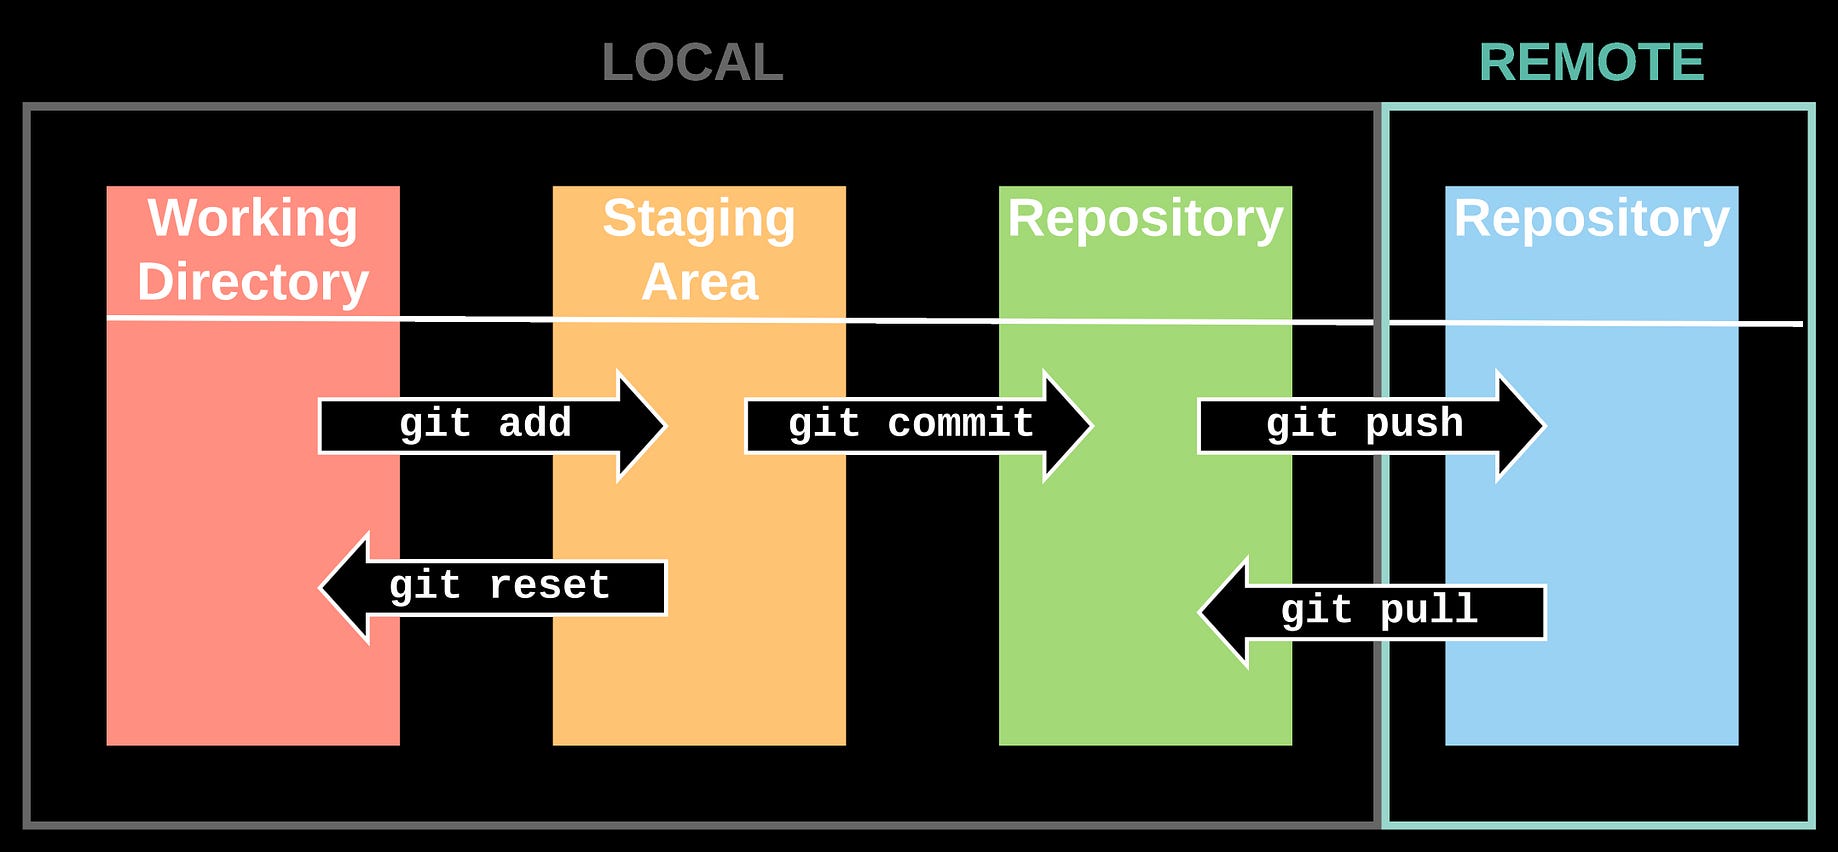
Now that we’ve reviewed the basic steps to get a repository cloned on your local machine and setup in the proper working branch, we will review how to push and pull to and from a repository. Once inside a repository that already has users collaborating simultaneously, it is advised to always type a git pull command, which will pull recent changes from the remote repository to local files. This also applies to the master branch as you need to pull recent code to keep local files updated. Once the repository is up-to-date, you can use a git status command to see if you have made any changes in the repository. Once changes have been made, you can check again and begin to add, commit and push.
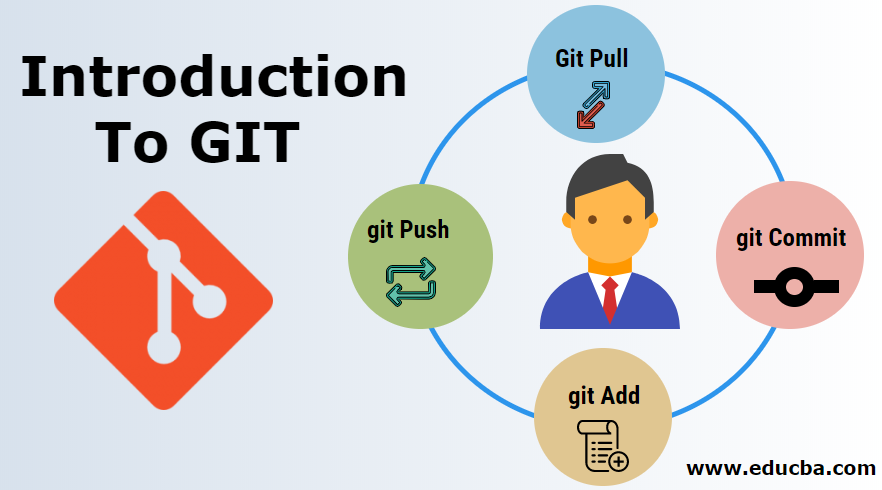
Once you’ve checked git status and see the files you are ready to push, you must first add the files using git add [filename]. Its important to note that you can also use git add . to include all the recent changes. Once the files have been added you will commit them using git commit -m "commit message". This is the message you and other users will see when adding the files to the repository. The final step is now to push the files using git push. Depending on the branch you are in, you will need to git push using git push origin [branch-name]. If done correctly, you have successfully added, committed and pushed your files to the repository!

GIT: Team Etiquette
Although we’ve reviewed GIT features in details, one of the most important features you will need to learn about GIT is the proper team etiquette required when utilizing the version control system. To be the most productive, team etiquette first starts off with proper communication throughout the users in the repository. This is achievable through GIT using branches that are dedicated per issue, and will only be pushed to the production-ready master branch when it is approved through a pull request. It is recommended that users include issue numbers and always provide a descriptive and short name for the files and names that are added, committed and pushed.
Furthermore, commits should consist of a single logical change, and although this may be hard for time crunch efforts, it is shown to be the most effective in delivering proper and transparent communication to the team. Another aspect of team etiquette worth mentioning is ignore files, which are essentially files not required by your project. This may sometimes come in the form of different O.S. files that are required by your local machine, but are not necessary to be pushed to the master branch. Being attentive to small details such as these will make for a more efficient collaborative effort amongst a team employing GIT as their version control system.
Learn More About GIT
GIT has diverse use methods that are not limited to this blog posted, and ATLASSIAN has great resources available to users seeking to learn more about them. Aside from learning resources, blogs such as the one titled Git Explained provides insightful information on proper etiquette with GIT, and how to make the most of the version control system in a professional work environment.
Stay tuned for a new blog post next week!